Take a Photo or Video with Chromebook
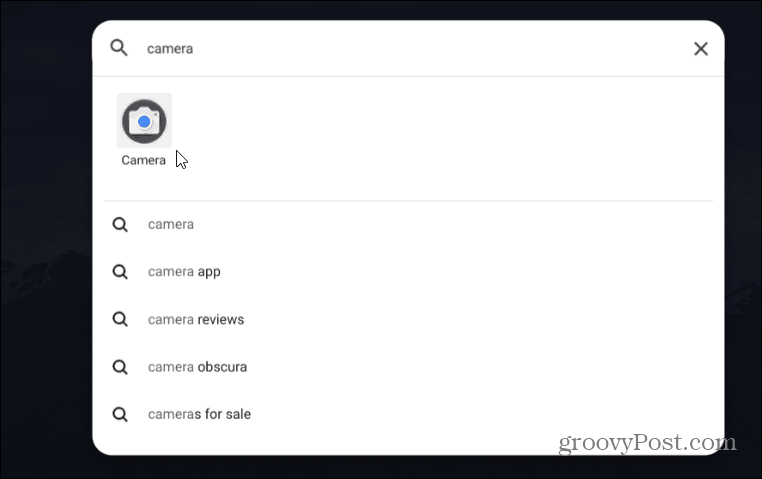
To get started, open the Camera app from the launcher menu or tap the Search button on the keyboard and click it.
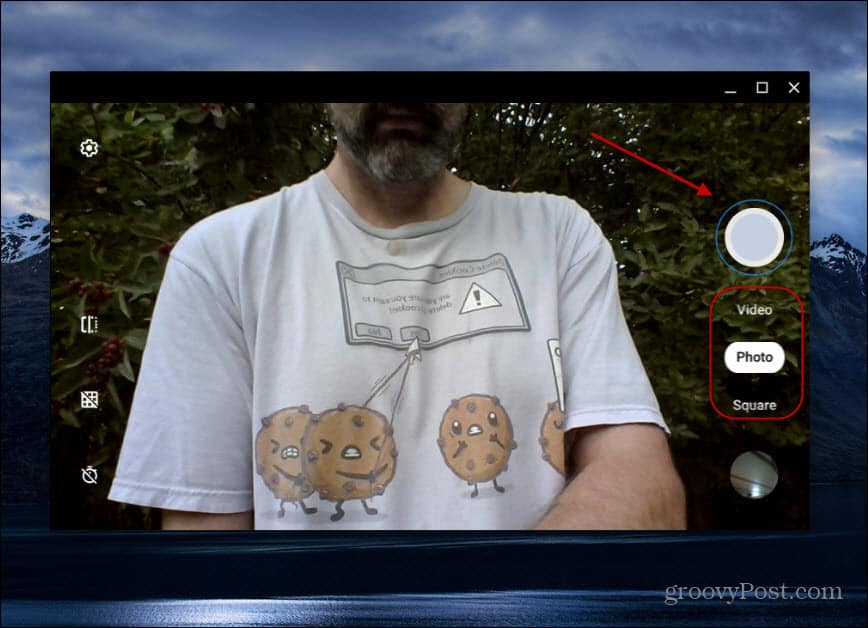
Once the Camera app is open you can toggle between taking a Photo or Video. When you’re ready to take the pic or record a video just click the record button.
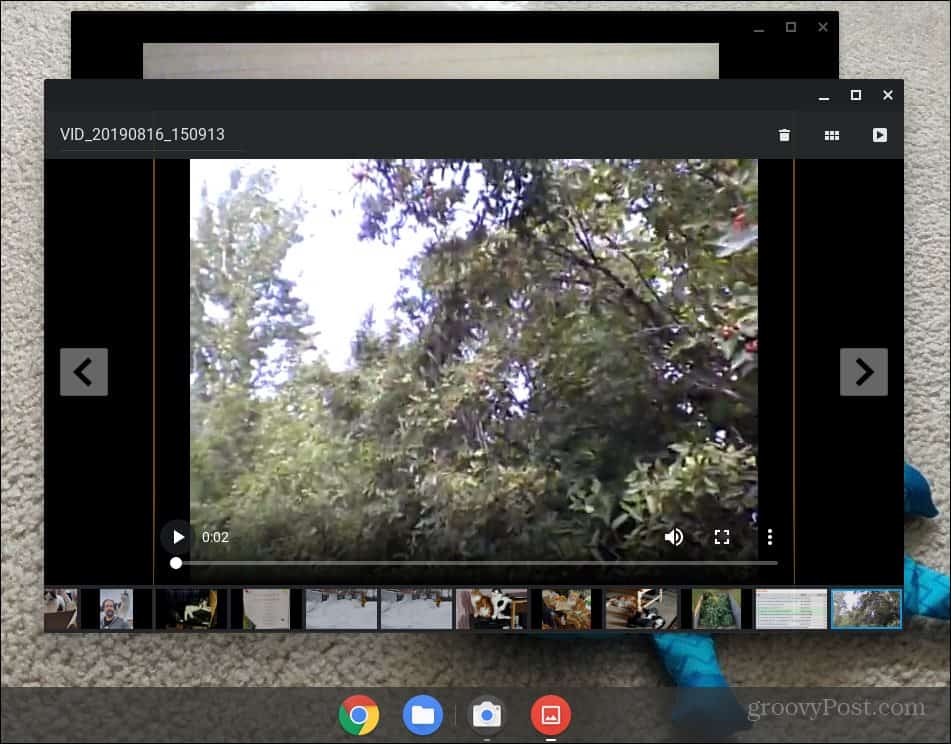
After you’ve taken the video or picture you can look at them directly from the Camera app or find them in the Files app. To view from the Camera app just click the thumbnail of the most recent image taken at the bottom-right corner. That will bring up the Gallery app. There you can playback videos or view the photos you’ve taken.
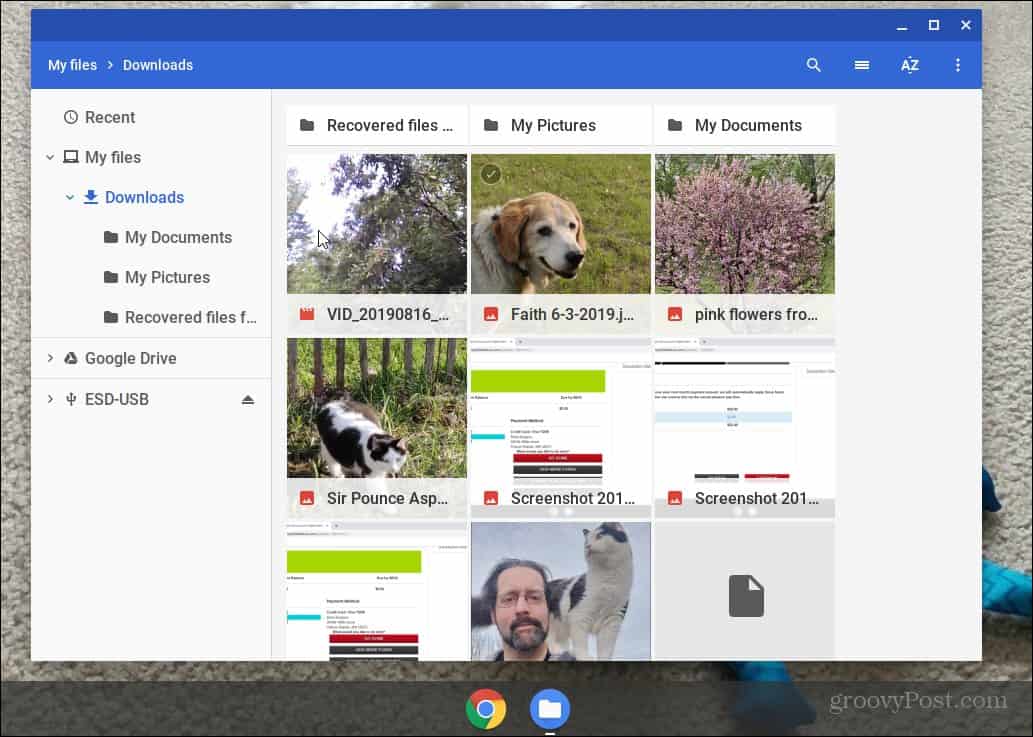
You can also find the shots in the Files app under My files > Downloads. There you will see all the most recent shots you’ve taken using the Camera app. From there you can view your videos, share them, or just delete them from your device.
It’s also worth noting that with Chrome OS 76 the company has updated the Camera app. The new interface allows for easier navigation between shooting mode. It also works in Portrait mode on the Pixel Slate and other Chromebooks.
With the recent updates, taking videos and photos using the Camera app on your Chromebook has become rather intuitive. It’s a lot like taking pics and videos on your phone. In fact, it kind of reminds me of when the Kindle Fire first came out and there was a hidden camera app in it, too. But the cool thing is Google is making an effort to make it better. Keep in mind that lower-end Chromebooks don’t have the greatest built-in webcams. So, you’re not going to want to use it to produce a YouTube series. However, it is a good way to send off a quick video to friends and family or post on a social media site.
![]()
